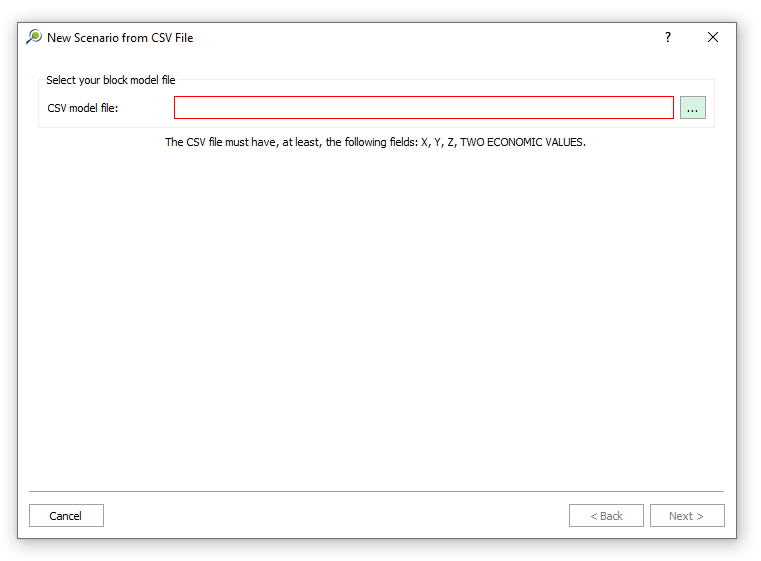
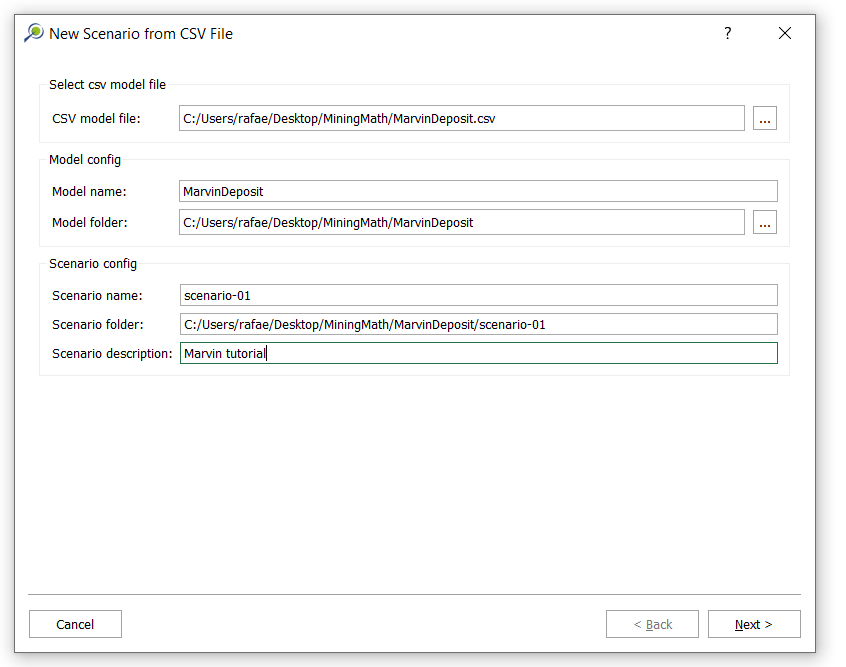
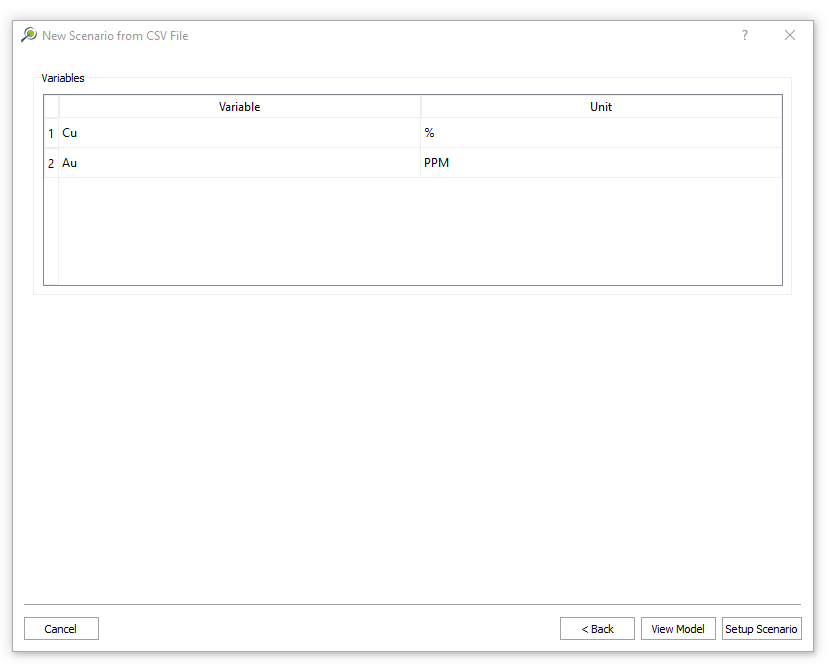
Importing the Block Model


Invalid index error
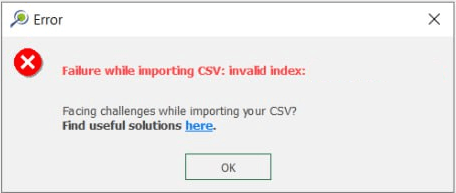
This is usually an error related to the origins. We recommend checking the origins from the previous mining package, otherwise, MiningMath’s results won’t match the actual coordinates.
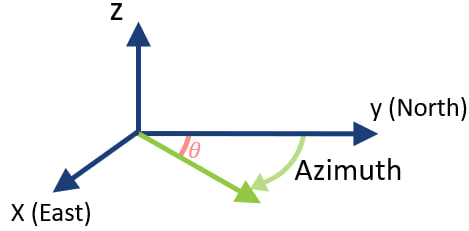
You should be aware that MiningMath employs coordinates (X,Y,Z), where Z, representing elevation, starts from the bottom. However, some other mining software may start from the top.
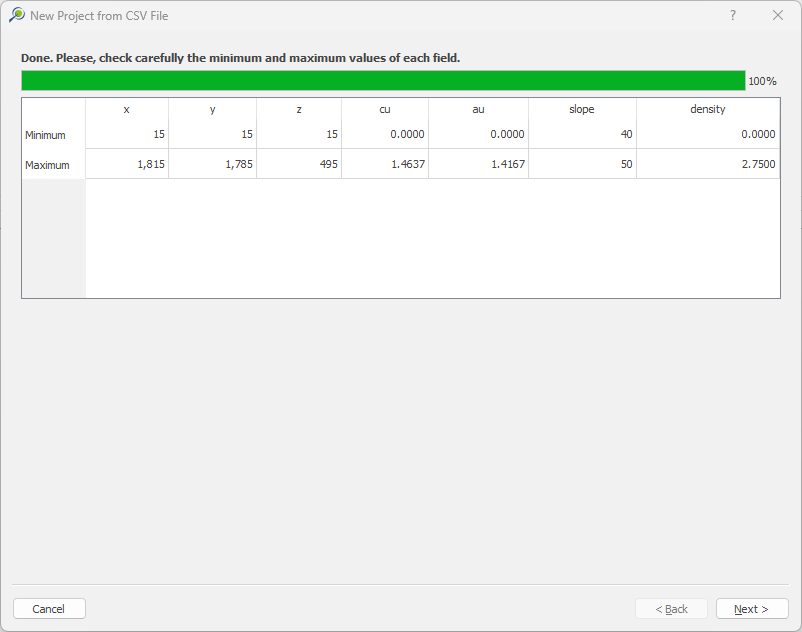
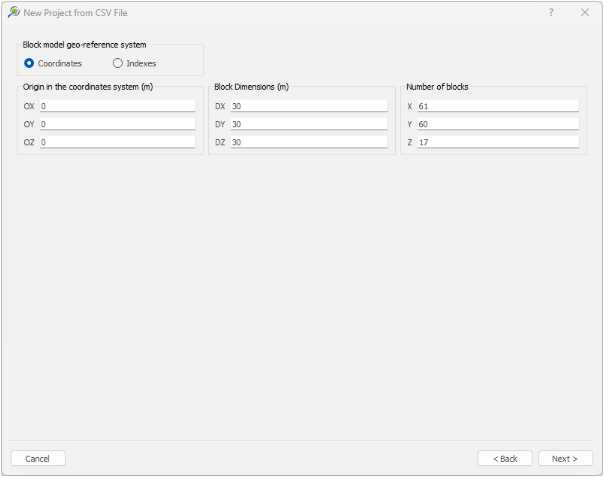
Also check the minimum and maximum values for each coordinate (X, Y and Z) of your CSV file to confirm if they are all within the box of your block model. And always remember that the origin must be the (minX, minY, minZ) of this box, as shown here. Therefore, all the block centroid coordinates in the CSV must be greater (>) to the origin values.
The calculation of the origins is quite simple. Usually, when your CSV file has all blocks below the topography, just take the minimum value of each axis, indicated on the first import screen, and subtract half a block. This will give you the correct origin.
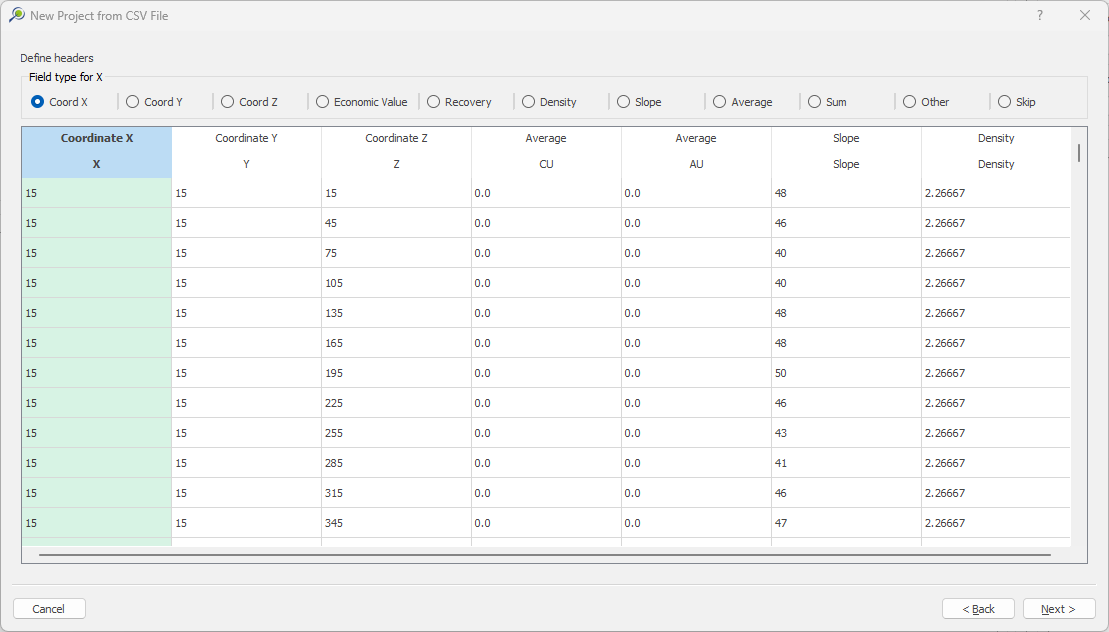
This error may also be related to other aspects such as incorrect spacing (coordinates that do not respect the block dimensions, considering the set of coordinates and the origin), and repeated coordinates, among others. Therefore, we also recommend reviewing the steps of formatting the block model and importing the block model to ensure there are no inaccuracies.
File access permissions
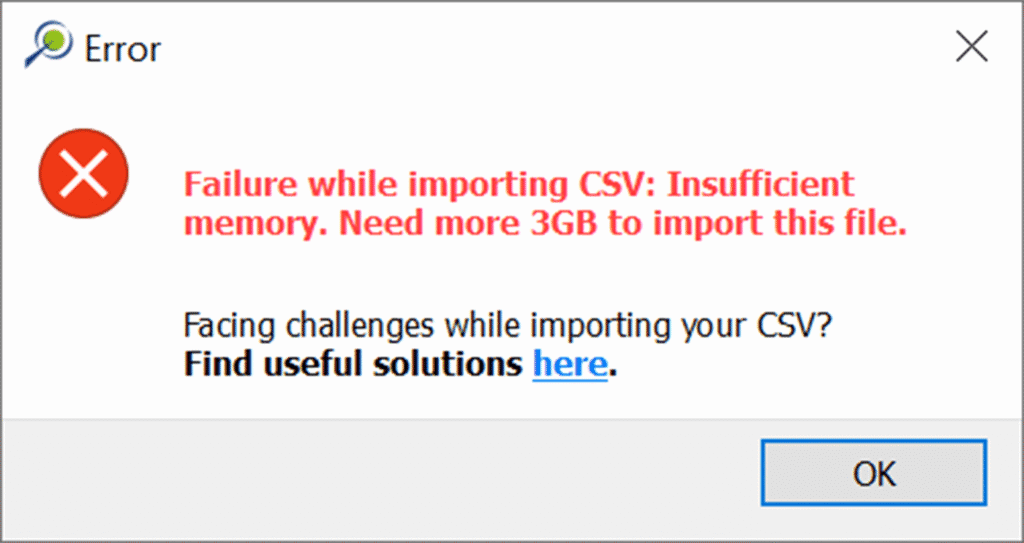
Insufficient Memory